 Image Studio
Turn one image into many
Every image you upload to Image Studio is a base image. When you request it through its delivery URL, you can add transformation parameters to the URL and Image Studio generates a brand-new image on the fly. Your original is never changed.
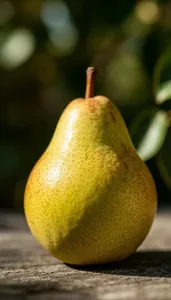
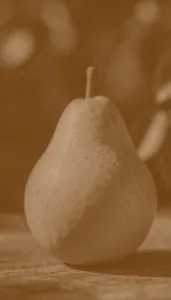
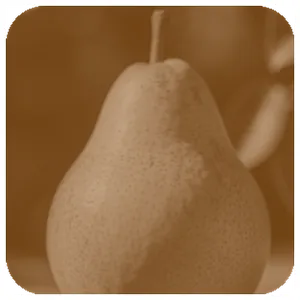
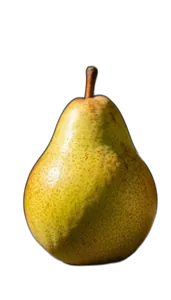
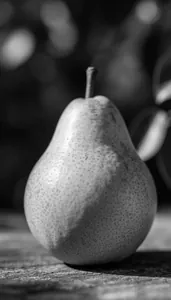
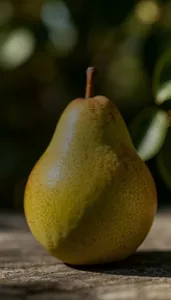
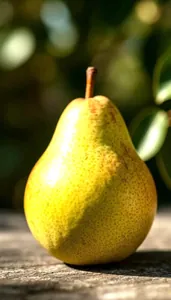
Every picture on this page was generated by Image Studio itself from one sample photo named pear. The caption under each picture is the exact transformation that produced it.
| Concept | What it means | |
|---|---|---|
Base image |
An image you uploaded to a folder. Transformations never modify it. | |
Transformation |
One or more parameters in the URL, such as w_300 or e_sepia, that describe the new image. |
|
Delivery URL |
The address that returns the transformed image. Use it anywhere an image URL works. | |
API key |
Your personal key, created when you first sign in. Every request needs it. |
Anatomy of a delivery URL
https://img.fairshare.tech/api/:api_key/images/:folder/:image/:transformations
| Part | What it is | Example |
|---|---|---|
:api_key |
Your personal API key. | YOUR_API_KEY |
:folder |
The folder that holds the base image. | fruit |
:image |
The name of the base image. It is always the last part of the URL. | pear |
:transformations |
Zero or more transformation components, placed before the image name. | w_300,c_fill |
Rules
- A parameter is a short name, an underscore and a value:
w_300. - Separate several parameters in one component with commas:
w_300,h_300,c_fill. - Separate components with
/. They are applied in order, left to right. See chaining. - Inside one component, parameters are applied in a fixed order: resize or crop, rotate, effect, flip, opacity, rounded corners, then border.
- Text values, such as overlay text, must be URL-encoded.
- With no transformations, the original file is returned unchanged.
https://img.fairshare.tech/api/YOUR_API_KEY/images/fruit/pear
https://img.fairshare.tech/api/YOUR_API_KEY/images/fruit/pear/w_300,h_300,c_fill,g_south
https://img.fairshare.tech/api/YOUR_API_KEY/images/fruit/pear/e_grayscale/r_40Resize, crop and scale
Set a size with w_ and h_, then choose how the image should fill that size with a crop mode.
| Parameter | What it does | Example |
|---|---|---|
w_ |
Width in pixels. | w_300 |
h_ |
Height in pixels. | h_300 |
ar_ |
Aspect ratio. Give a width or a height and the other is calculated. | w_300,ar_16:9,c_fill |
c_ |
Crop mode. See the table below. The default is fit. |
c_fill |
g_ |
Gravity: the part of the image to keep or anchor to. | g_north |
x_ · y_ |
Offsets in pixels, used with c_crop, c_thumb and overlays. |
x_20,y_20 |
z_ |
Zoom for c_thumb. A value above 1 keeps less of the image. |
z_1.5 |
dpr_ |
Multiplies the width and height for high-density screens. | w_200,dpr_2.0 |
Crop modes
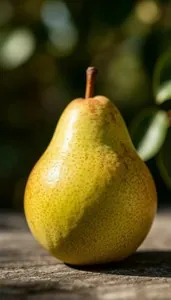
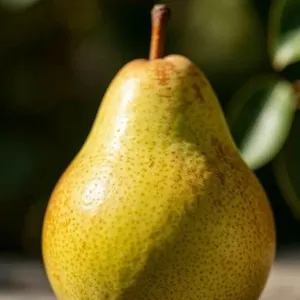
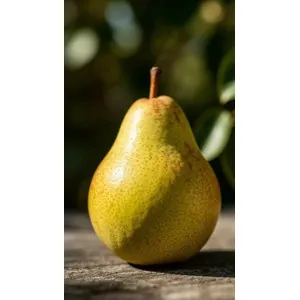
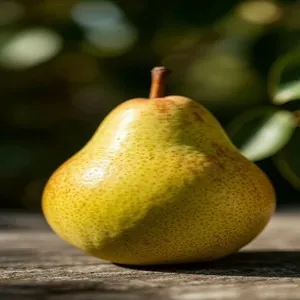
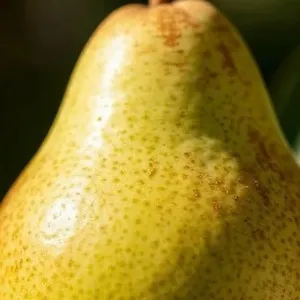
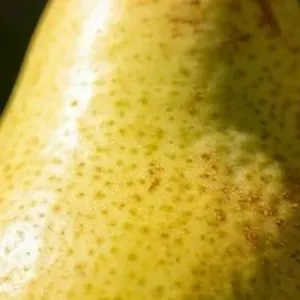
| Mode | What it does | |
|---|---|---|
fit |
Resizes to fit inside the width and height, keeping the aspect ratio. The result can be smaller than the box in one direction. | |
fill |
Resizes and crops so the image fills the width and height exactly. | |
pad |
Resizes to fit, then pads to the exact size. Set the padding colour with b_. b_auto picks a colour from the image edge. |
|
scale |
Stretches to the exact width and height and ignores the aspect ratio. With only one of them set, the ratio is kept. | |
crop |
Cuts out a region of that size without resizing. Choose the region with g_, x_ and y_. |
|
thumb |
Crops a region, then resizes it to the exact size. Use z_ to zoom in. |
|
limit |
Like fit, but never enlarges an image that is already smaller than the box. |
|
lfill · lpad |
Like fill and pad, but return the image unchanged if it is already smaller than the box. |
Gravity
With c_fill, c_crop and c_thumb, gravity decides which part of the image stays in the frame.
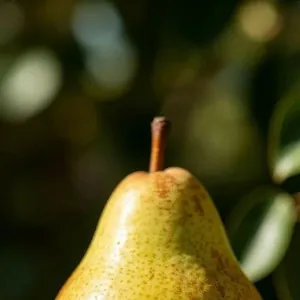
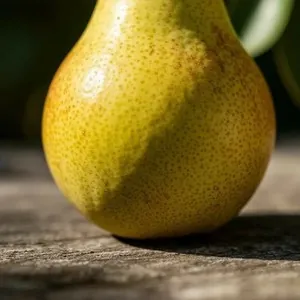
Values: center (default), north, south, east, west, north_east, north_west, south_east and south_west.
g_auto and g_face are accepted, but they behave like g_center. Image Studio does not detect faces or the subject of a photo when cropping.Change how an image looks
Add an effect with e_. Some effects take a value after a colon, such as e_blur:600.
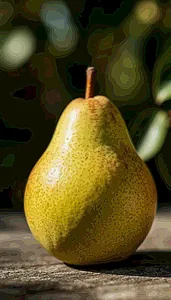
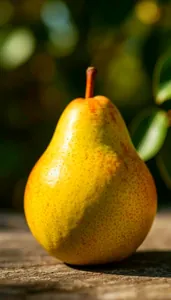
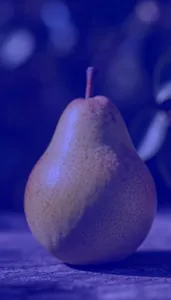
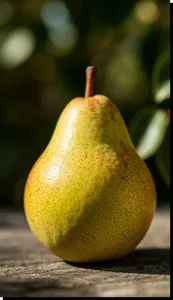
| Effect | What it does | Example |
|---|---|---|
e_grayscale |
Black and white. Also e_blackwhite. |
e_grayscale |
e_sepia |
Warm brown tone. | e_sepia |
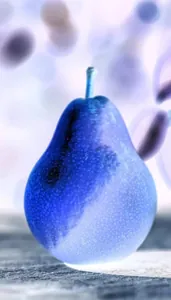
e_negate |
Inverts every colour. Also e_invert. |
e_negate |
e_blur |
Gaussian blur. The value divided by 100 is the radius in pixels. The default is a light blur. | e_blur:600 |
e_sharpen |
Sharpens fine detail. The change is subtle. | e_sharpen |
e_vignette |
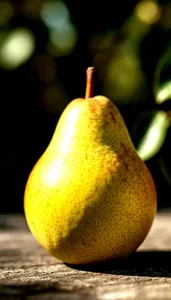
Darkens the corners. The value is the strength in percent. | e_vignette:60 |
e_pixelate |
Blocky pixels. The value is the block size. | e_pixelate:24 |
e_noise |
Adds grain. The value is the amount. Also e_grain. |
e_noise:40 |
e_oil_paint |
A painted look. The change is subtle. | e_oil_paint |
e_cartoonify |
A flat, posterised cartoon look made with image filters. | e_cartoonify |
e_brightness · e_contrast · e_saturation |
Percent change. Positive values increase, negative values decrease. | e_brightness:35 |
e_tint |
Blends a colour over the image. The value is the strength in percent (default 50). Set the colour with co_. |
e_tint:45,co_blue |
e_outline |
Draws an outline. The value is the width and co_ sets the colour. |
e_outline:3,co_white |
e_shadow |
Adds a drop shadow. The value is the blur radius. The canvas grows slightly, so the result is a PNG. | e_shadow |
e_improve |
Automatic enhancement. Also e_auto_enhance, e_auto_color, e_auto_contrast and e_auto_brightness. |
e_improve |
e_trim |
Crops away a uniform border. co_ sets the border colour. |
e_trim |
e_make_transparent |
Makes one colour transparent. The value is the tolerance, co_ sets the colour. |
e_make_transparent:30,co_white |
e_background_removal |
Removes the background. See below. | e_background_removal |
To stack effects, list them in one component, e_grayscale,e_sepia, or in separate components. They are applied in order.
AI background removal
e_background_removal cuts the subject out of its background and keeps the transparency. It runs a neural-network segmentation model (rembg) on the Image Studio server.
If that model is not available on the server, a simpler method based on the colour at the image edges is used. It works best on plain backgrounds.
The result is transparent, so it is returned as a PNG unless you choose another format. The shortcut t_bg-rem does the same thing.
Layer text and images
Add a layer with l_. A layer can be text or another image.
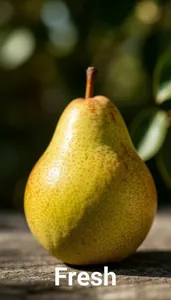
Text overlay
l_text:Font_Size_Weight_Align:Your%20text| Part | What it is | Example |
|---|---|---|
Font |
A font family. Bundled fonts include Roboto, Noto Sans, Noto Serif, Noto Sans Mono and Noto Sans CJK JP for Japanese text. Write the name without spaces. | Roboto |
Size |
Font size in pixels. | 72 |
Weight (optional) |
bold, italic, normal, light, thin, medium, semibold, extrabold or black. |
bold |
Align (optional) |
left, center or right. |
center |
Text |
Your text, URL-encoded. It comes after the second colon. | Fresh%20Pear |
co_ |
Text colour. The default is black. | co_white |
g_ · x_ · y_ |
Where the text sits. The default gravity for text is south. The offsets move it away from the edge. |
g_north,y_30 |
w_ · h_ with c_fit |
Wraps the text inside a box and shrinks it until it fits. Without c_fit, w_ only shrinks the font until the line fits the width. |
w_400,c_fit |
Image overlay
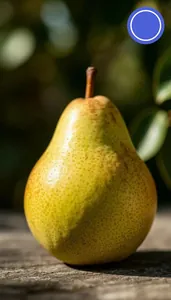
l_badge,w_110,g_north_east,x_16,y_16Use the name of another image you own in Image Studio after l_. Then size and place it in the same component.
| Parameter | What it does | Example |
|---|---|---|
w_ · h_ |
Resizes the overlay. With only one of them, the ratio is kept. | w_110 |
o_ |
Overlay opacity from 0 to 100. | o_80 |
g_ · x_ · y_ |
Where the overlay sits and how far it is from the edge. | g_north_east,x_16,y_16 |
e_sepia/l_text:Roboto_72_bold:Fresh. Inside a component that has a layer, only the layer is applied. Output settings such as f_ and q_ next to a layer apply to the whole image.Corners, borders, rotation and opacity
| Parameter | What it does | Example |
|---|---|---|
r_ |
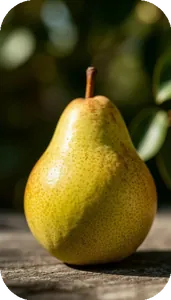
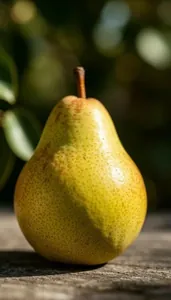
Rounded corners. The value is the radius in pixels. Corners become transparent, so the result is a PNG. | r_60 |
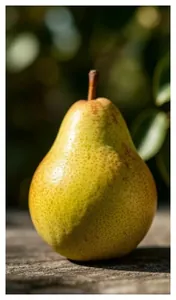
bo_ |
A border, written as the width in pixels, an underscore and a colour. | bo_10px_white |
b_ |
Background colour. It fills the padding of c_pad, and flattens any transparency onto that colour. |
b_4B5FD6 |
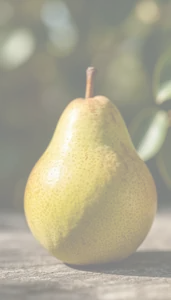
o_ |
Opacity of the whole image from 0 to 100. | o_50 |
a_ |
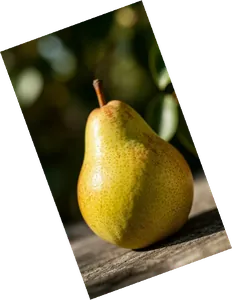
Rotation in degrees. The canvas grows to fit and the new corners are transparent. | a_20 |
fl_horizontal · fl_vertical |
Mirror the image left to right, or top to bottom. | fl_horizontal |
co_ |
A colour used by text overlays and by effects such as e_tint and e_shadow. |
co_white |
Colours
Use a colour name such as white or red, or a hex value without the hash: 4B5FD6. The form rgb:4B5FD6 also works.
Choose the format and the quality
| Parameter | What it does | Example |
|---|---|---|
f_ |
Output format: jpg, png, webp, avif or auto. |
f_webp |
q_ |
Quality from 1 to 100, or auto (85). It applies to JPEG and WebP output. |
q_80 |
- With no
f_, the result is a JPEG, or a PNG when the image has transparent areas. f_autoreturns WebP, or PNG when the image has transparent areas.- Pick the format with
f_in the same component as your other parameters:w_480,f_webp,q_80.
What it means for file size
Measured on the sample photo at w_480. Your sizes will depend on your own images.
| Format | File size | Example |
|---|---|---|
JPEG |
63.6 KB | f_jpg |
PNG |
439.0 KB | f_png |
WebP |
41.3 KB | f_webp |
AVIF |
33.4 KB | f_avif |
| JPEG quality | File size | Example |
|---|---|---|
20 |
15.3 KB | f_jpg,q_20 |
50 |
25.6 KB | f_jpg,q_50 |
80 |
43.1 KB | f_jpg,q_80 |
100 |
200.7 KB | f_jpg,q_100 |
auto |
50.5 KB | f_jpg,q_auto |
Shortcuts for common looks
Write t_ or bl_ followed by a name, for example t_bg-rem. You can mix a name with other parameters: t_sepia,w_300.
| Name | Same as | |
|---|---|---|
bg-rem · bg-removal · bg-remove · bgremoval |
e_background_removal |
|
bg-rem-gray |
e_background_removal, then e_grayscale |
|
gray · bw |
e_grayscale |
|
sepia |
e_sepia |
|
cartoon · cartoonify |
e_cartoonify |
|
sharpen |
e_sharpen |
|
noise |
e_noise:18 |
|
vignette · outline · shadow |
e_vignette, e_outline, e_shadow |
Build an image step by step
Each /-separated component works on the result of the one before it.
https://img.fairshare.tech/api/YOUR_API_KEY/images/fruit/pear/c_fill,w_300,h_300/e_sepia/r_40/bo_6px_whitec_fill,w_300,h_300crops to a 300 by 300 square.e_sepiagives it a sepia tone.r_40rounds the corners.bo_6px_whiteadds a white border.
Who can request an image
Every request needs a valid API key, and the key must belong to the owner of the image or of its folder. Generated images are cached by their full URL, so a repeat request is served from storage instead of being generated again. Changing any character in the URL creates a new image.
| Status | Meaning | Common cause |
|---|---|---|
401 |
The API key is not valid. | A typo in <code>:api_key</code>. |
403 |
The key is valid but does not own the image or its folder. | Requesting another user's image. |
404 |
The base image was not found. | A wrong folder or image name. |
400 |
A parameter could not be applied. | An overlay name that does not exist or that you cannot use. |
Every parameter at a glance
| Parameter | Purpose | Example |
|---|---|---|
w_ · h_ |
Width and height in pixels. | w_300,h_300 |
ar_ |
Aspect ratio. | ar_16:9 |
c_ |
Crop mode: fit, fill, pad, scale, crop, thumb, limit, lfill, lpad. | c_fill |
g_ |
Gravity. | g_south |
x_ · y_ · z_ |
Offsets and zoom. | x_20,y_20 |
dpr_ |
Pixel density multiplier. | dpr_2.0 |
e_ |
An effect, with an optional value after a colon. | e_blur:600 |
l_ |
A text or image layer. | l_text:Roboto_72_bold:Fresh |
co_ |
Colour for text and effects. | co_white |
r_ |
Rounded corners in pixels. | r_60 |
bo_ |
Border: width in pixels and colour. | bo_10px_white |
b_ |
Background colour. | b_white |
o_ |
Opacity from 0 to 100. | o_50 |
a_ |
Rotation in degrees. | a_20 |
fl_ |
Flip: horizontal or vertical. | fl_horizontal |
f_ |
Output format. | f_webp |
q_ |
Output quality. | q_80 |
t_ · bl_ |
A named transformation. | t_bg-rem |